Siting a nesting box; when, where and how?

When we first moved into Whalley range, I was absolutely delighted to receive a house-warming gift of a bird nesting box.  But it then sat on a shelf for almost four years, whilst I dithered over where to put it up.

If I put the nesting box up on the only tree in our garden, it would be too far away from the house for me to enjoy seeing its residents coming and going.  On the other hand, the only other location in the running might possibly be too close to the house.  What a dilemma.

Finally, a fortnight ago, I decided it really was high time to get the bird box up in the latter location; there is obviously more chance of birds nesting in it there, than in a cupboard in the cellar. If you’re thinking of putting up a nesting box yourself, here are a few considerations:

What types of birds might nest in my nesting box? 

This depends on the entrance size; 25mm in diameter for blue tits and 28mm for great tits. My nesting box has a hole of 32mm in diameter so could potentially accommodate nuthatches or house sparrows.  Starlings would need an entry hole of 45mm.

star-100014_1920.jpg

When should I put it up? 

Now is a good time to put up your bird box; birds check for nesting spots during the winter, prior to nesting in February / March.

And where should it go? 

Boxes for tits should be mounted between two to four metres high, up a tree or wall – and on their own. 

Starlings and house sparrows will use boxes placed high up under eaves, and don’t mind if there are a few close to each other. 

In all cases, the box entry must face between north and east, in order to avoid strong sunlight and the wettest winds. 

How should I affix my nesting box? 

If you are mounting a box on a tree, it’s better to run a wire inside some hose around the tree trunk, and fix the box to that.  Like you, trees are not that keen on having nails driven into them.  Check the wire every couple of years and let it out, as the tree’s girth expands.

Anything else? 

Make sure the birds have unimpeded entry and exit to the box, by pruning and clearing away any branches.

Finally, when it comes to late summer and you are sure all of the birds have flown, take down the box and clean it out, to make sure it is tidy and disease-free for the next occupants.

great-tit-1164947_1920.jpg


Make your own bird feeders

We saw this idea in the December edition of the RHS magazine.  They used very beautiful mini terracotta plant pots, but since I have a firm resolve to avoid buying ‘stuff’ if at all possible, we thought we’d try a variation of our own, using old mugs.

For five bird-feeders you will need:

·        Five old mugs – if you can’t relegate any to garden-bird use, you can pick them up for pennies in charity shops;

·        Garden string;

·        Four mugs of bird seed / peanuts etc;

·        One mug of raw porridge oats;

·        2 x 200g boxes of shredded vegetable suet;

·        A large saucepan and spoon.       

IMG_1854.JPG

Instructions:

1.      Empty all the suet into the saucepan and melt over a gentle heat, until completely liquid (do not boil);

2.      Remove from heat.  Tip the bird food into the melted suet and stir.

3.      Allow mixture to cool a little before adding the porridge oats – it is important not to cook the oats as sticky gelatinous oats will not be good for little birdie-beaks.  Stir thoroughly.

4.      Spoon the mixture into the empty mugs.  Refrigerate overnight.

5.      Thread garden string through the mug handles and tie to sturdy tree branches.  If their design allows, try to get the mouths of the mugs to tilt downwards, so rainwater drains out.

I’ve tied mine to some washing line I suspended over our decking (originally for the purpose of stringing up fairy lights, but I never got around to that).  Unless the Whalley Range squirrels are particularly adept at tight-rope walking (actually, I’d love to see them try!), the feeders should be safe from uninvited diners.

Since I put my feeders out, the weather has been atrocious and I have only seen interest from a lone great tit, but I’m hoping he’ll let his friends know.  And perhaps tell them about the new nesting box too – more about that in the next blog.

Feeding the birds; some dos and don’ts

The pigeons have had a good peck at the Brussels sprouts at Cheadle College this year, and my father is cursing the blackbirds for decimating his gooseberry crop in the summer.  However, many birds are beneficial to gardeners - feeding on slugs, snails, aphids, caterpillars and other pests. 

Do keep feeding birds throughout the winter, when food is scarce; this helps them maintain the fat reserves they need to keep warm, and the shorter days also mean less time for birds to find their own food.

What should we feed the birds?

Different birds like different foods.  If you are able to put out a variety of food, then you are more likely to get a range of visitors to your garden; tits, siskins and greenfinches go for peanuts and sunflower seeds. House sparrows, dunnocks and reed buntings eat small seeds, like millet.  Robins, wrens and dunnocks will also eat mild grated cheese from the ground, or a bird table. 

bird-1386651_1920.jpg

Hanging suspended feeders filled with fat, seeds and other bird food are attractive to tits, greenfinches and sparrows. 

All birds need water to drink and bathe regularly throughout the winter and many people forget this; make sure there is a bird bath or other shallow source of unfrozen water for them.

animal-world-3552297_1920.jpg

Bird-feeding precautions

Remember to wash your feeders and clean your bird tables frequently.  With so many species and numbers visiting feeding stations, diseases can quickly spread.  I gave my feeder a soak in hot water with Citrox, scrubbed it out with an old toothbrush and allowed it to dry, before filling it and putting it out.

IMG_1867.JPG

Clear up any discarded food that accumulates under the feeders and always wash your hands after feeding the birds.

Remove any nylon mesh bags on shop-bought fat-balls and seed-cakes to prevent birds becoming entangled.  And don’t put out whole peanuts or food with large, hard chunks once birds are feeding young; the chicks can choke on them.

Hanging feeders should preferably have a cage around them to deter larger birds and squirrels.  I have fixed down the lid of my ‘squirrel-proof’ feeder with extra wire, to prevent the squirrels raiding it.

20181207_113835.jpg

Hopefully this has given you some ideas for feeding our feathered friends.  If you’re in creative mode, look out for my next blog post on making your own bird feeders.

December 'things to do' in the garden

Bear up and have courage; the days are only going to be this short for another six weeks or so…  but in the few remaining hours of daylight that might be available for gardening, here are some suggestions:

Weather watch

If you haven’t already, move frost-tender plants into the greenhouse, or give them a bit of extra protection with some horticultural fleece. My Cordyline australis is young not fully hardy so once the temperatures approach zero, I go out and cosy it up for the night.  Mind you, it’s been that mild with us to date, that I’ve only had to do that once.

20181019_160641.jpg

It’s been a few years since we’ve had any notable quantities of snow here, but if snow should fall, go out and brush it off branches of trees and shrubs, otherwise the weight of the snow can cause branches to break.  Also avoid walking on frosted grass as it damages it.

It’s not all bad though; frost is also beneficial - killing off pests and diseases that might otherwise survive to cause issues in the spring.  Freeze-thaw processes also help to break up large clods of soil, making cultivation easier come the spring.

Brassicas, Bays and Blackcurrants

If you have spring cabbages and other winter brassicas, remember to earth them up to give them a bit of protection against strong winds.  Tall-growing Brussels sprouts might need staking.  Remove any yellowing leaves to prevent the spread of fungal diseases.

Any potted bay plants / trees should be moved to a sheltered spot, or for smaller plants, brought inside if particularly cold weather is forecast; their leaves are susceptible to damage from cold winds.

laurel-2887821_1920.jpg

Now is a good time to prune your blackcurrants - when they have lost their leaves and you can see what you’re doing.  For established bushes, prune out about a third of the branches, cutting the older stems to about an inch from the ground.  Remove weak shoots and any dead, old or unproductive wood.  Finally, mulch around the base with well-rotted farmyard manure or homemade garden compost, but avoid it touching the stems.

Hopefully these tasks sound more appealing than Christmas shopping, despite the damp and gloom. Check back here again soon for some tips on feeding the birds during the winter.

The loveliness of ladybirds

Since arriving in Whalley Range, I’ve noticed that our upstairs rooms are popular with hibernating ladybirds.  Ecologist Big Sister was most perplexed to find a large number residing above the window in the bedroom allocated to my nephews to sleep in, at our family Christmas get-together a couple of years ago.. 

IMG_1821.JPG

Following a quick google search, this perplexation was replaced by delight on discovering that the collective noun for ladybirds is apparently a ‘loveliness’.  I’m yet to find a reliable source to verify this.

Why are ladybirds so lovely?

Ladybirds are important beneficial insects in our gardens; they are natural predators of pests such as aphids, whiteflies, scale insects, plant mites and glasshouse mealybugs.  These pests are sap-suckers with piercing mouth parts; they feed on plants, stunting their growth and making them susceptible to viruses and other infections.  Ladybirds are therefore an important form of biological pest control.

Are all ladybirds beneficial?

Ladybirds come in all shapes, sizes and colours.  Large, harlequin ladybirds were originally imported by European farmers to prey on pests.  But now, the orange and black Harlequin ladybirds, native to eastern Asia, have become invasive species in the UK, preying on smaller, beneficial native species.  Here’s a link to a few photos of different species, collated by the BBC News Magazine.

There’s a lesson to be learnt here, about not upsetting the natural balance of the ecosystem.  The best way to attract ladybirds in to your garden is to make it naturally desirable to them, including provision of somewhere for them to hibernate.

Where should ladybirds hibernate?

Obviously, a house is not a ladybird’s natural habitat; although they like to seek out a bit of warmth and shelter over the winter, they need humidity so are likely to die of desiccation in heated homes. 

An undisturbed part of your log-pile or a homemade bug hotel makes a great place for ladybirds to over-winter.  Range Borders facebook followers will already know how proud I am of the bug hotel we made during our class at Cheadle College, a couple of weeks ago. 

20181108_115626.jpg

It’s not necessary to make your bug-house to be on the equivalent scale of the Beetham Tower; an open-sided bird-box size bug-house would do the job just as well and might even make a good Christmas gift idea for someone!

ladybug-349456_1920.jpg

Naturalising crocus bulbs in the lawn

Early-flowering bulbs; what’s not to like?

It’s always a delight to see the first flowers of the new year, breaking through the grey gloom of a Mancunian winter.  Snowdrops are well known for their resilience against whatever the weather throws at them, and we used to have beautiful spring irises in our previous garden. 

In addition to lifting the spirits, early flowering plants also provide a vital food source for those pollinating insects emerging first from hibernation, such as bumble bees.

Selecting an appropriate species

After ticking off my RHS homework to learn ‘five bulbs suitable for naturalising’, I thought I could give the bumble bees a bit of a helping hand in my own garden, by planting crocus bulbs in the lawn.  Short grass is best for crocuses.  Our lawn is ideal, as it has a number of bald and mossy patches!

I selected Crocus tommasinianus; this early-flowering species is well suited to naturalising, and its flower-heads are particularly attractive to bees due to their more open form.  Other crocus cultivars tend to be a bit too big, bright and bulbous to look natural in the lawn.

Preparation

At this point, I need to stress that planting five hundred crocus bulbs in one’s lawn is not a light undertaking.  I’ve been at it most of today and I’ve still got a third to go, but should you wish to follow suit, this is how I did it. 

After clearing the lawn of leaves, I positioned three bean poles to mark the approximate positions of three ‘drifts’ of crocuses.  I divided the bulbs into three roughly equal-sized piles (no – I didn’t count them…).  I also mixed up some multi-purpose compost with a few handfuls of horticultural sharp sand.  Other crucial items of equipment were a dibber and an old spoon.

IMG_1840.JPG

Ready, steady, plant!

In general, bulbs like to be planted at two to three times their own depth.  The recommended depth for these bulbs was 8cm, with a suggested planting density of 150 bulbs per metre square.  Rather than planting in uniform-looking squares, I threw a third of the bulbs in the vicinity of each bean pole, and planted each bulb where it landed, in order to achieve a more natural effect.

For each bulb, I sunk the dibber to the 9cm mark.  Next, I put half a spoonful of the compost mix into the hole, and dropped in a bulb (hopefully the right way up).  My reason for adding some compost first is to ensure that the base of the bulb actually engages with something at the bottom of the hole, given the narrow taper at the end of the dibber.

Finishing off

After gently prodding the bulb down into the hole with my finger, I then used the spoon to top up the hole with the compost mix, pressing it firm to the level of the lawn.  Repeat a further four-hundred and ninety-nine times…

In order to protect the bulbs from being dug up by squirrels, I also have chicken wire on hand to peg over the planting areas.  I shall keep a close eye on things before deciding whether to use or not.

Aftercare

Just a final note; in order to please the bees for many years to come, remember not to mow the lawn for at least six weeks after the bulbs have flowered, to enable the foliage to continue photosynthesising and replenishing the bulbs beneath for the following spring.

To dig or not to dig...

I went to a high school where, in the first year, we had to do Rural Studies.  I’m probably showing my age here, because I suspect that Rural Studies was booted out by the introduction of the National Curriculum, in the late ‘80s, added to the need to build a sports hall over the RS plots. 

Autumn digging

Nearly thirty years ago now, but I can still remember pulling on wellies on damp chilly Monday mornings, collecting tools and trudging outside to undertake our autumn digging, autumnal mists hanging over the playing fields.  Then ensued a convoluted regime of digging trenches, filling them up again, arguing over whose piles of soil belonged to who and whose trenches were the deepest.

These memories all came flooding back recently, when we were required to undertake ‘double digging’ as part of our RHS level 2 practical certificate.  Double digging RHS-style involves digging over a whole plot, trench by trench, removing top soil, working the subsoil in situ, replacing the topsoil… Check out the RHS website here, for the numerous steps in the process.

20181005_115237[1].jpg

Do you really need to double-dig?

As far as I’m concerned, my personal view is - only double-dig if you need to tick a box on your RHS assessment.  It’s time-consuming and labour intensive (particularly on a compacted clay subsoil, as at Cheadle College).  It’s perhaps a good opportunity to work in organic matter for new plots and seriously compacted soils, or, as in the case at Cheadle, to add lime to help break up the solid clay subsoil.  But double digging and exposing the subsoil more than once every five years can destroy the soil structure and exacerbate compaction problems. So what could be done instead?

20181005_115008[1].jpg

The no-dig alternative

These days, Charles Dowding’s ‘no-dig’ approach is very much in vogue.  Instead of working the soil, he advocates for just the annual addition of 3-4cm layers of organic matter such as home-made or purchased compost or well-rotted manure every autumn.  Disturbance to the soil itself is kept to an absolute minimum. 

This means that there is no disruption to earthworms and other beneficial soil organisms.  Weed seeds are not exposed to the light they need to germinate so weed levels are lower.  On the other hand, one counter-argument to ‘no-dig’ suggests that continual additions of organic matter without working the soil will eventually lead to its compaction.

So which way to go?  I have to concede that Charles’ approach is very compelling; organic, good yields, less weeds, less labour intensive - as his website demonstrates.  But I’m afraid that I just can’t help myself; I love to stick a fork in every now and again, break the topsoil up a bit, and mix in some compost.  Perhaps I’ll just select my favourite parts of both approaches.

20181011_140507[1].jpg

Coming next - Naturalising crocus bulbs

November 'things to do' in the garden

“It’ll soon be Christmas” stated my youngest, as he set off for school on the very first day of term, in early September.  At the time, we told him not to be so daft, but low and behold, November has sneaked up by stealth and despite the (mostly) mild October, it’s worth being prepared for any wintry weather that might be coming our way.

September was spectacularly windy this year, with storm Ali amongst others wreaking havoc in many parts of Northern England.  If you haven’t done so already, it’s time to tie in the longer shoots of climbers and wall shrubs.  Check that tree stakes are firm, and that ties are not cutting in to the trunks. 

Our beech tree has just about finished dumping its leaves out the front, just as the ash has ramped-up its efforts out the back. Keep on raking up those leaves, particularly on grass, so it continues to get enough light as the days shorten.

P1030994.jpg

Rainfall tends to increase in November.  Remember not to walk on or work the soil when wet, as this destroys the soil structure and can lead to compaction.  Keep off wet grass too, for the same reason.

If you don’t have a greenhouse, keep an eye on the weather forecast and protect your containers from frost by wrapping them in hessian sacking or bubble-wrap; roots of container plants are more susceptible to frost than those in the ground.  Move all pots and containers into a group, so they can protect each other.

Finally, according to the RHS, November is the month for planting tulips – plant them at about three times the bulb’s depth. If you haven’t yet got around to planting your other spring-flowering bulbs, don’t panic. Just get them in before the frosts. I definitely recall planting daffodils towards the end of the year, after work, with a head torch, and they all came up fine. Don’t forget to protect bulbs from the multitudinous Whalley Range squirrels with some chicken wire.

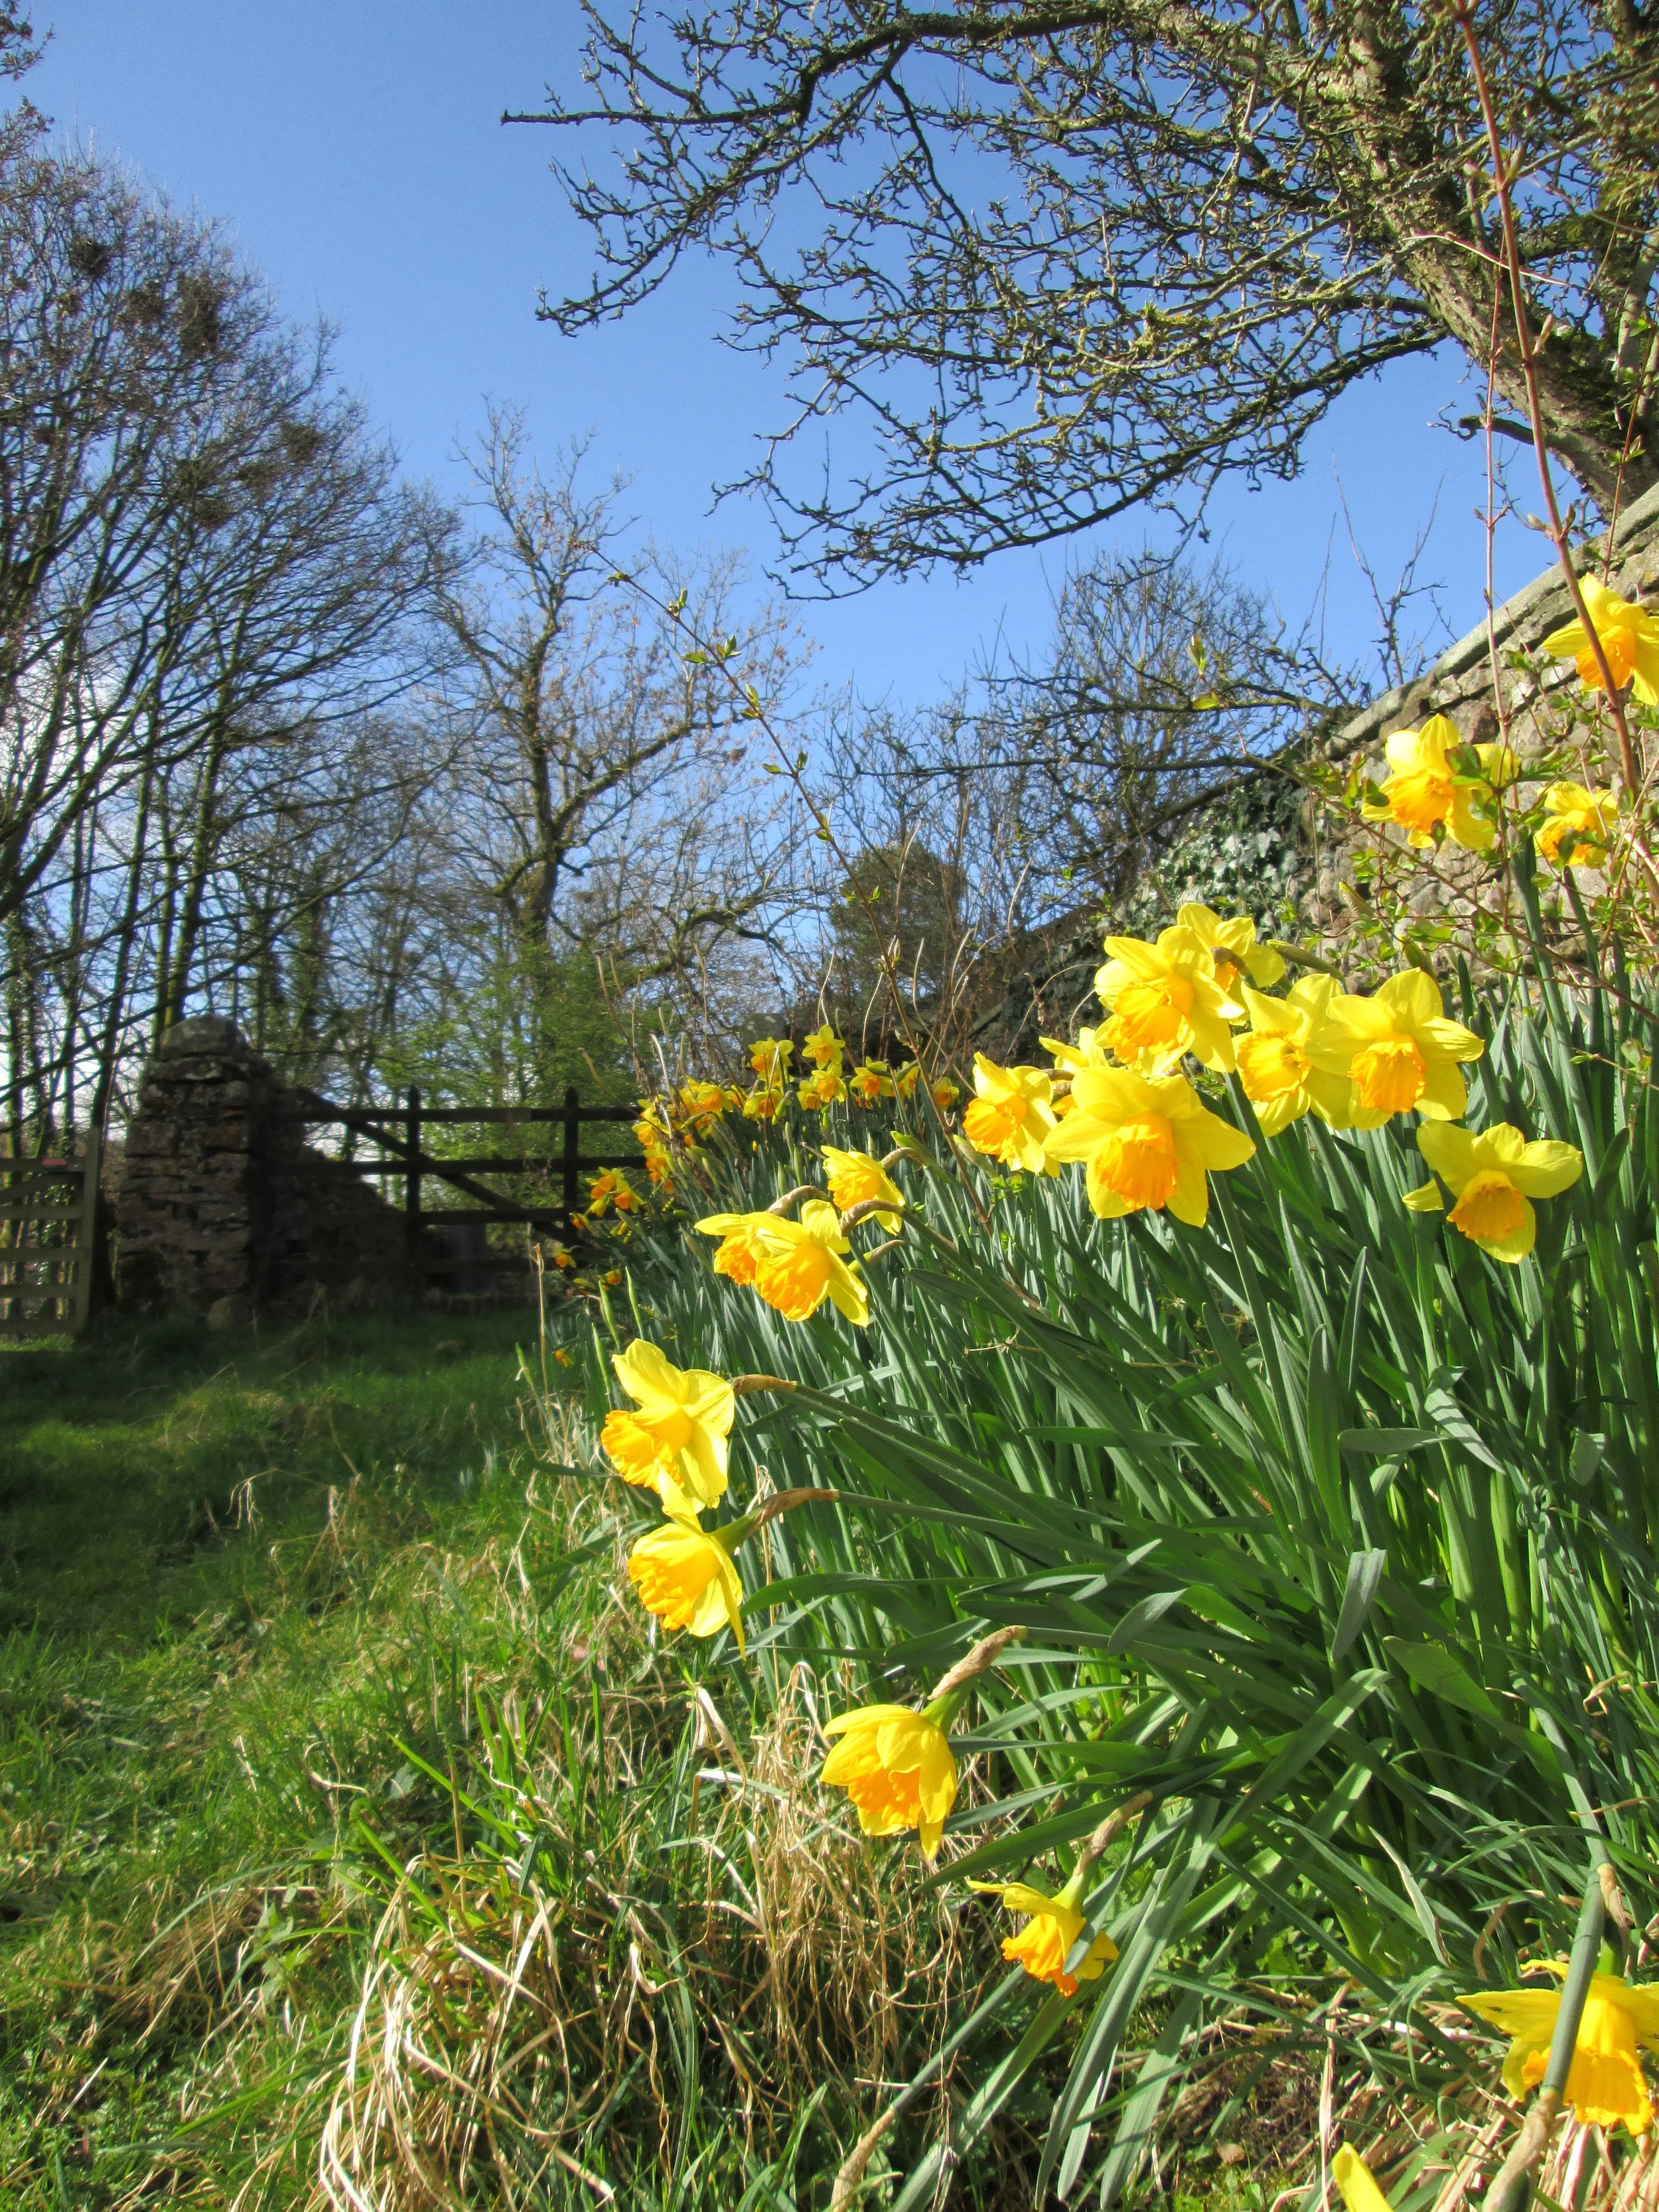
Promise of things to come; springtime in the Yorkshire Dales

Promise of things to come; springtime in the Yorkshire Dales

Coming next; to dig or not to dig…